PNG Indoor 1:20.3 Layout
Step 1 is to get the foundation built. Here in
Colorado, an engineered foundation must be build for any structure over 750
sq ft. The over all size of the building is 25' by 60'. Foundations have to
be below the 30" frost line hence the excavation.
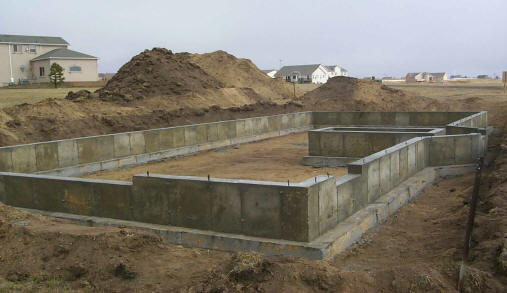

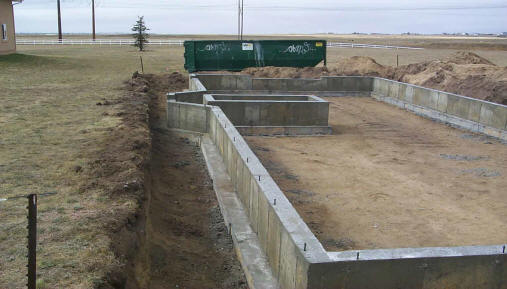
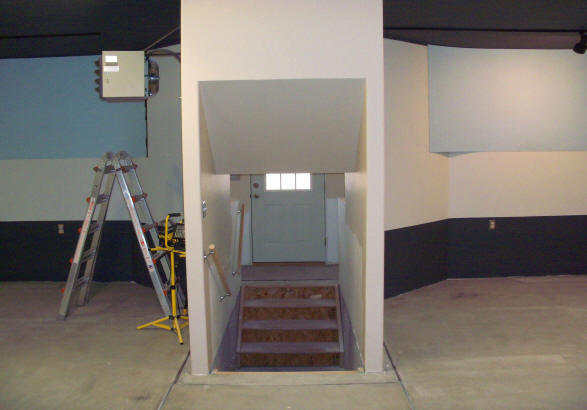
The entrance will be the bay window protrusion on the South wall (left
side). The pit just inside the entrance is for steps down and up to go under
the layout. The choices are to have to layout very high and walk under it,
crawl on your hands and knees under it or as I have done, provide a pit with
steps to pass under it.
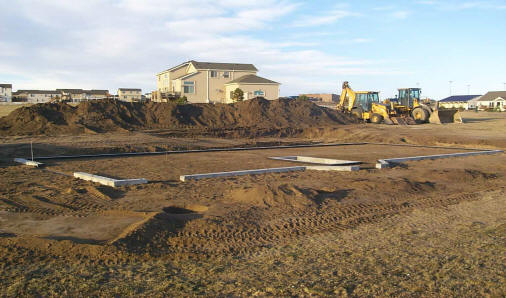
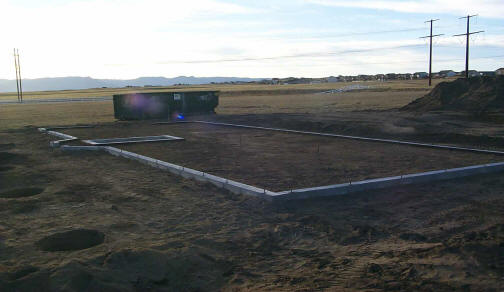
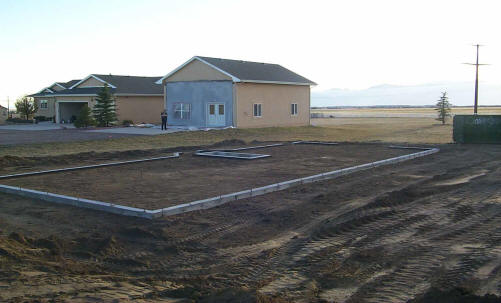
The dirt is back in the hole and ready for the slab to be poured. You can
also see the shop is the background, ready for the color coat on the stucco
to match the existing stucco.
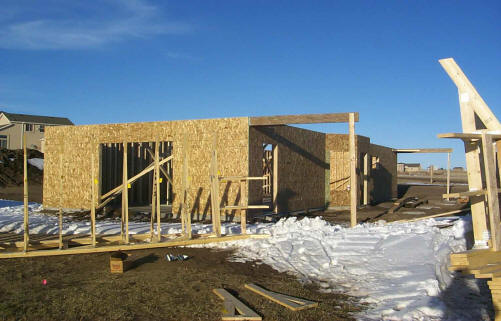
The slab was poured right before a 2 day period of freezing rain. It got
concrete blankets so wasn't much to picture. The day after the storm, the
framers showed up and at the end of the first day, it looked like this.
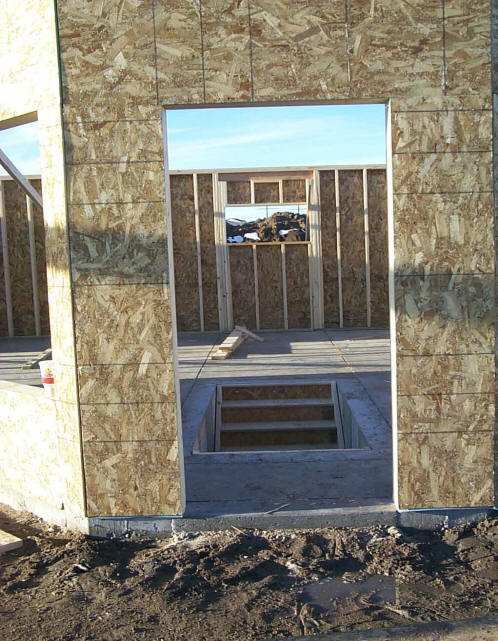
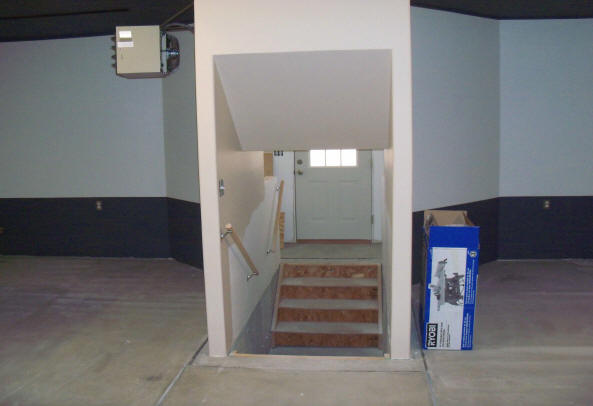
Looking in the bay entrance at the steps down and up
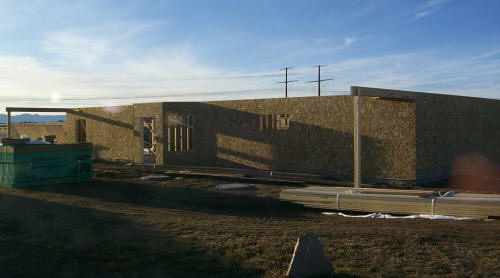
The second day the framing crew finished the outside and of course that
weekend a bit more snow. Here's a look at our "compound".
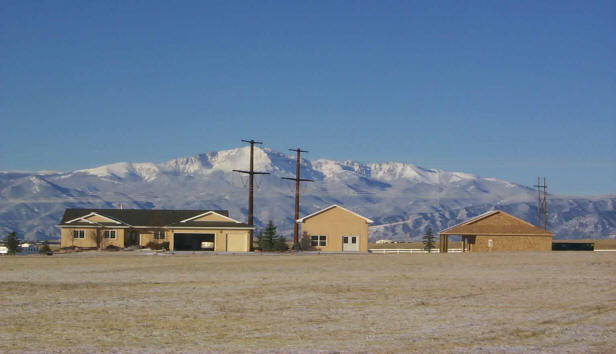
Those power poles are actually 600' behind us. That power easement keeps any
future development 350' beyond our property line.
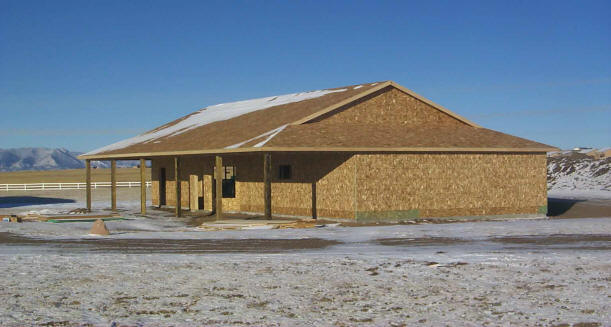
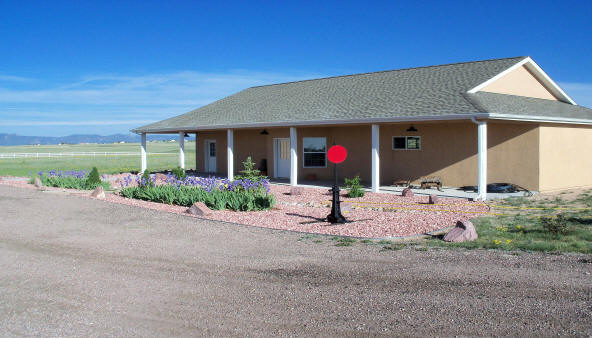
Another view of the Layout building.
The roof is going on at this date as are the soffits under all the eves and
porch. What remains is the concrete porch, stucco to match the house and
shop and painting of fascia boards, soffits and the 6 porch support post.
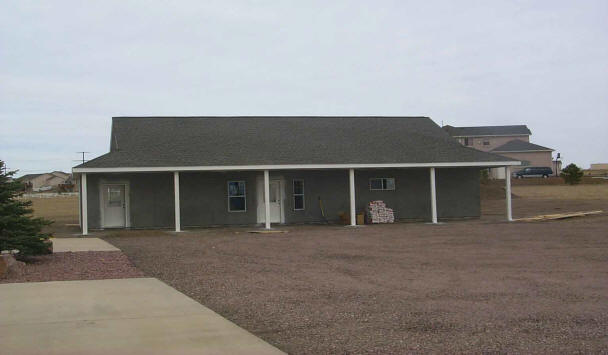
At this point, the roof is finished and the scratch coat of stucco is on.
What remains is the color coat of stucco and all the concrete deck and walk
ways.
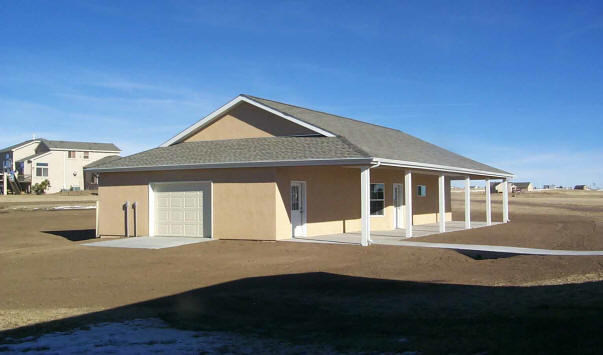
Here, the exterior of the building is finished. The end seen in this picture
is the garden section. The roll up door is to get the ride around mower in
and out. It will be spring before I complete the electrical, insulation,
sheet rock and painting.
So for now, December 2009, it's done enough to concentrate on other projects.
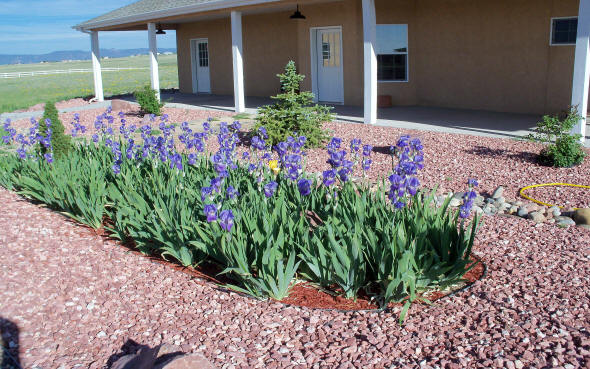
During the summer of 2011 we landscaped the front of the building with rock,
boulders and a couple Iris beds.
In the summer of 2010, I got all the electrical wiring roughed in and
approved so that I could get spray form insulation sprayed into the exterior
walls and start sheet rocking the ceiling and walls. My son-in-law from
California helped with that venture.

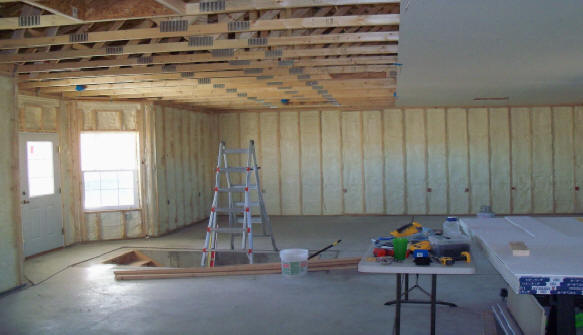
After all the sheetrock was applied, the insulation crew came back and blew
15" of insulation into the attic. All this work completed the fall of 2010.
2011 was outside landscape work only.
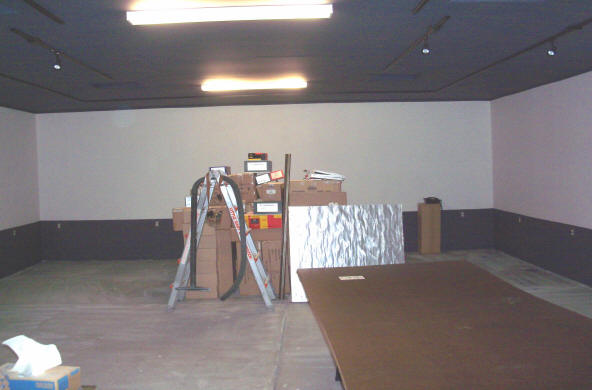
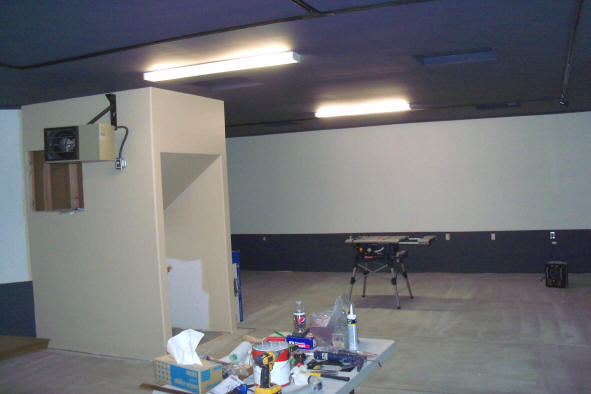
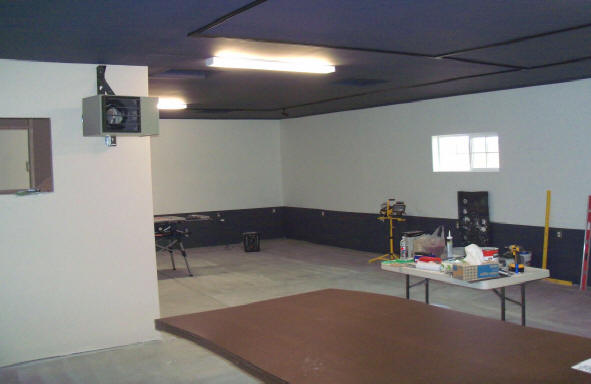
June of 2012 saw the electrical final and building final. Before that
happened, all the sheetrock joints and seams were taped, textured and
painted. 150' of ceiling track lighting track was added and 4 florescent
fixtures down the middle of the room.
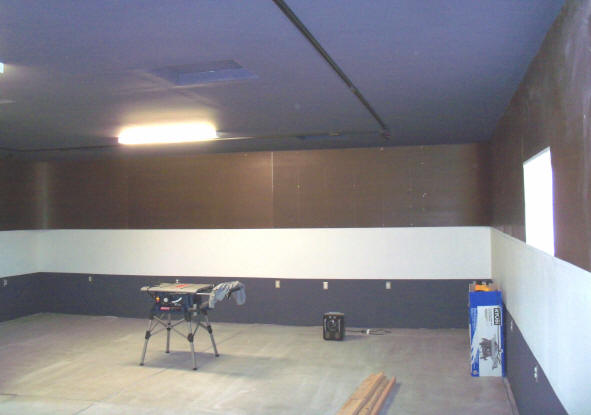
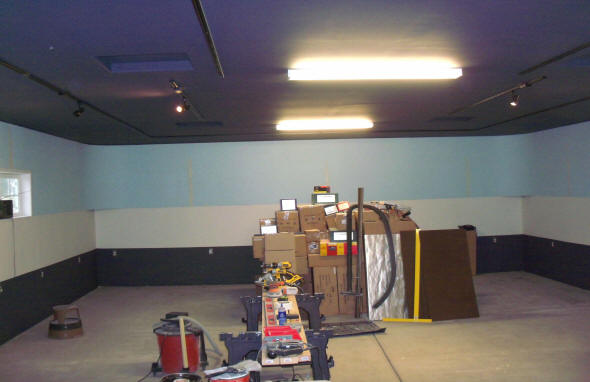
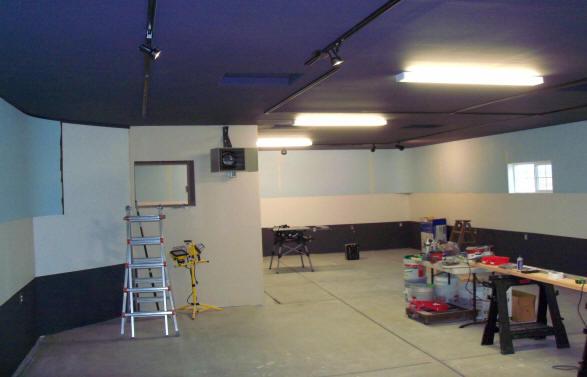
The next 4 pictures are of the room immediately after the permits were
closed. My friend, Mike Harris, from Aurora, Colorado, came down several
times to lend a hand with taping and mudding the sheetrock joints and
rolling some paint on the ceiling and walls.
Tunnel structure with train pass through
The "Tunnel"
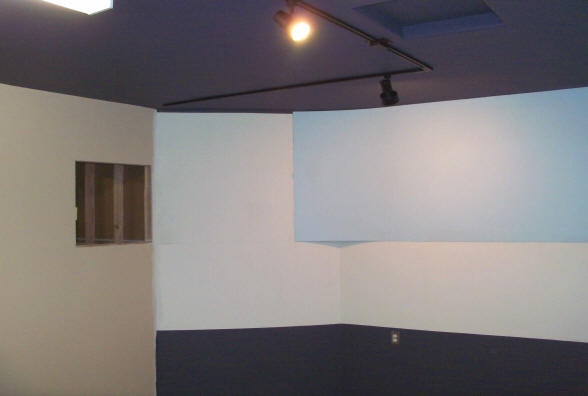
Next step was to get 4' by 8' sheets of masonite hung around the room for
backdrop. All corners were rounded so there would be no darkened square
corners. It took the better part of a day for Mike and I to hang 20 sheets
around the room.
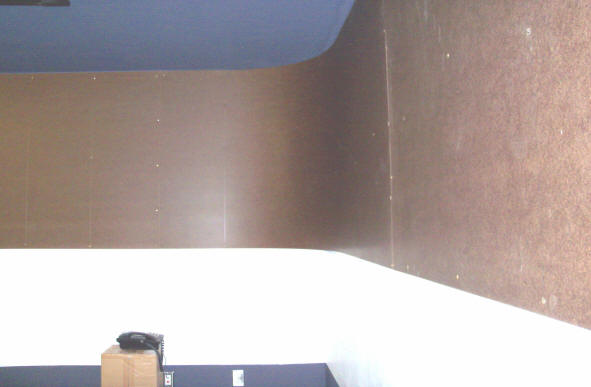
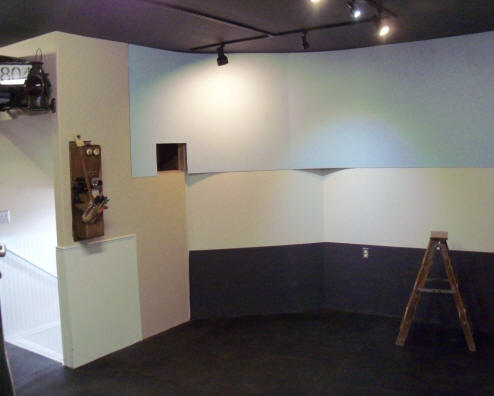
I've over brightened the picture so the masonite can be seen. The masonite
flexes enough to bend around the corners with a nice angle.
Once up, I taped and spread joint compound over all the screw holes and edge
joints, sanded and painted sky blue. The dark on the lower quarter of the
walls will be below the cantilevered bench work. I want the ceiling, walls and
floor to be dark so as not to distract from the layout.
The masonite isn't finished to the pass through as bench work needs to
happen first.
Now it was time to dig out all my old magneto phones I'd been collecting
over the years. Some of these were in service when we first "met". Many
along the California Western RR in Northern California better known as the
Skunk RR. It wasn't until 1980 that cable was laid down the RR right away to
replace all the open wire. Once in, all the customers along the route and in
the small cluster of homes in Irmulco and Northspur got upgraded from manual
to dial phones. Other's came from old logging camps in the Anderson Valley
near Philo, CA.
I also added a few pieces and parts from e-bay and a warehouse of old phone
goodies in Wisconsin. Most pieces were in pretty poor condition and in need
of refurbishing the guts and striping paint and varnish from the oak boxes.
All the brass was tarnished to the point of looking more like rusted steel.

Lightning protection, mag phones, telegraph sounder and key, candlestick with mag and bell box and an old typewriter
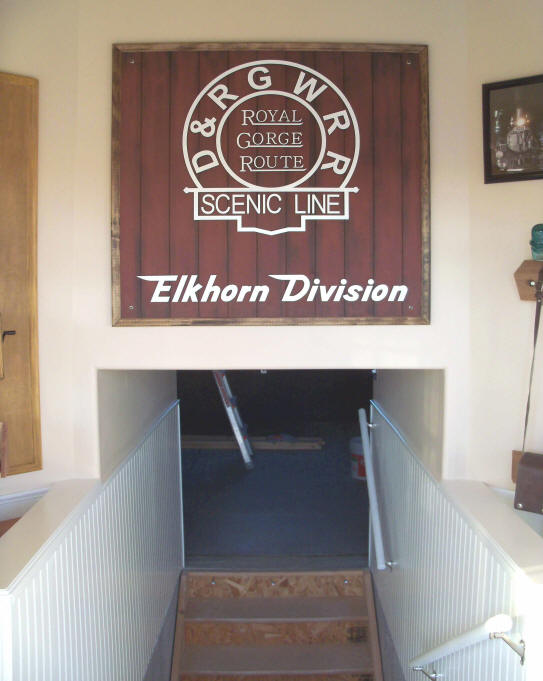
Sign made from 3-1/2" tongue & groove cedar plank with lasered Moffitt logo.
My layout will have many "freelanced" components hence the fictitious
"Elkhorn Division".
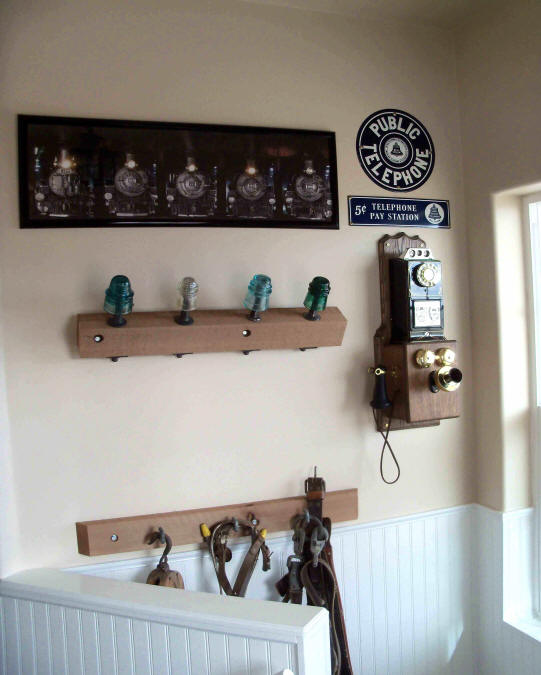
Old payphone with repo signage, glass insulator coat rack and hooks for my
old climbing belt, climbers and wood pulley

I only did residential maintenance for 3 years but keep some of my old gear.
This was a far cry from the electronic PBX and voice mail systems I worked
on at retirement.
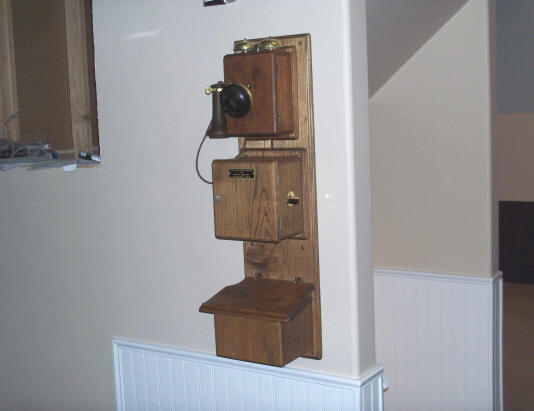
Another "3 story" phone inside the train room
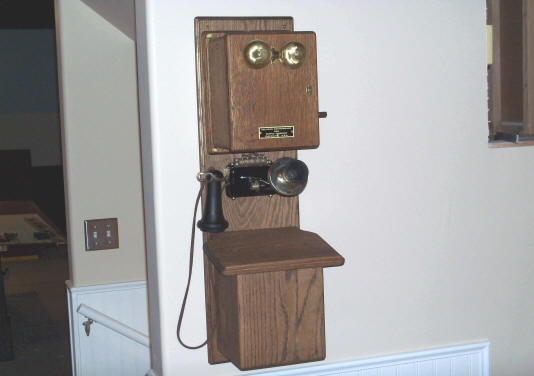
The last mag inside the train room.
This work completes the 2012 construction phase. Next up is getting a
thermal break on the concrete floor. I'm planning on using rubber mat used
in horse trailers and paddocks.
Fall 2015
Now that I've "parked" the train business, I can get on with getting the
building ready to start the layout.
Over the years 2013 and 2014 I got all the 1/2" thick, 5' by 7' rubber mats
laid on the cement floor. While they do what I want them to do, they do give
off a rubber smell. It is dissipating over time.
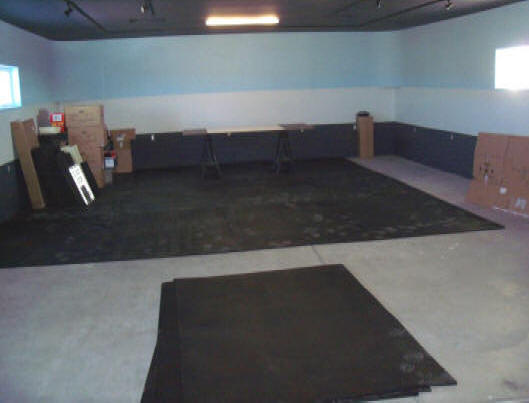
Getting started with the east end of the building.
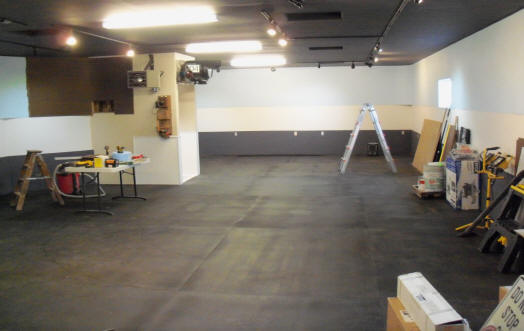
West end with all the rubber down.
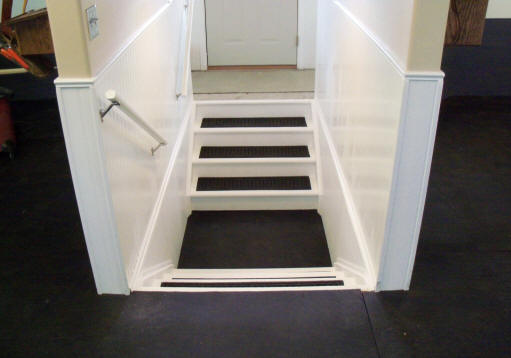
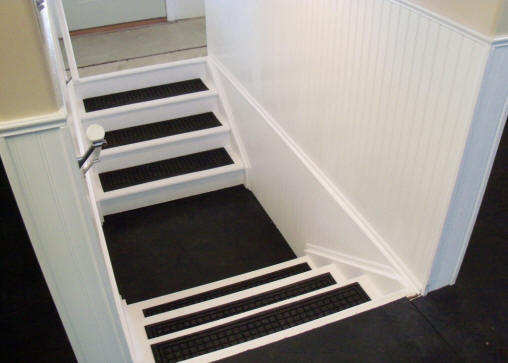
Now I needed to finish the entrance "pit". I got a piece of rubber fitted in
under the steps and constructed adhesive 2 pieces of plywood to the cement
walls. That followed by bead board and molding to match the rest of the
entrance. Here's 3 shots of how it turned out.
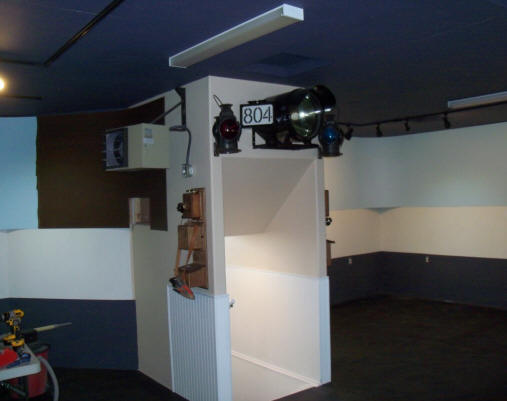
A good friend connected me with the caboose markers and the loco headlight.
You can also see I've finished the masonite board on this side of the
tunnel. Just needs to have the joints taped, filled and the section painted.
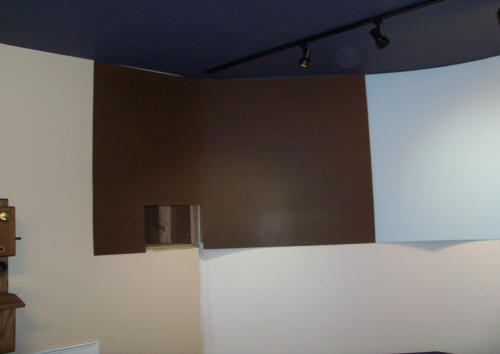
Here's a better shot of the right side of the tunnel.
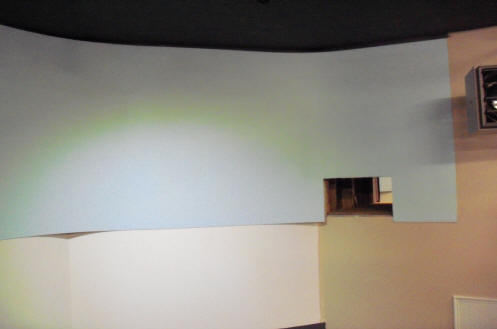
And with paint.
At this point, the "heavy" lifting part of the building is done. I need to
get the backdrop up before I start any bench work as it's going to be a lot
easier not climbing over layout or bench work. Click the "Backdrop" button
at the top of the page for the next saga.
