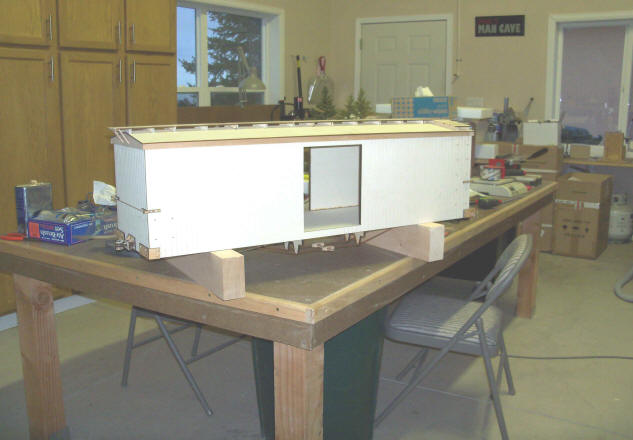
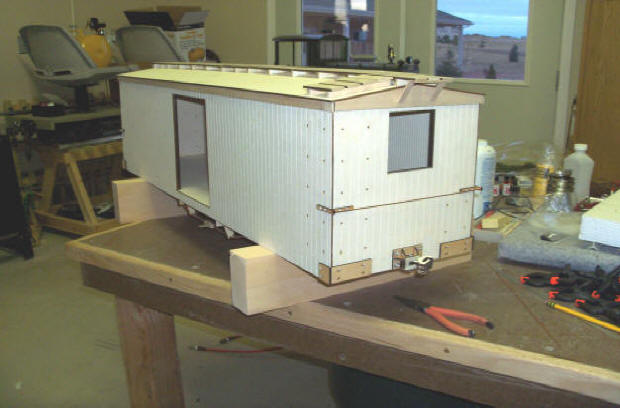
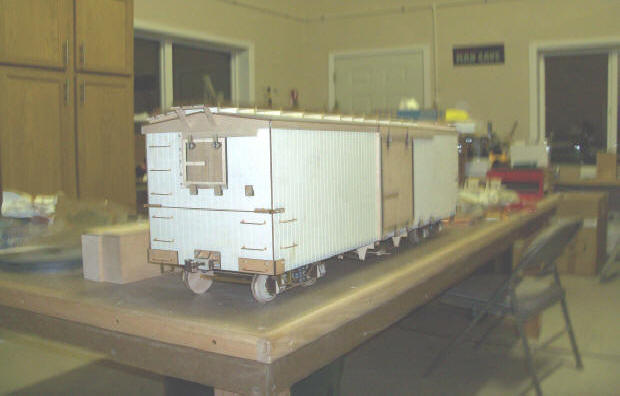
I'm doing my best to find something I need for my layout or just redoing a few masters for spin casting to keep my noggin active on the 3D CAD program. One thing I've not seen on eBay or elsewhere in the size and shape I want is a water tower spout. After a couple weeks of thumping my head against the wall, I was able to draw this up.
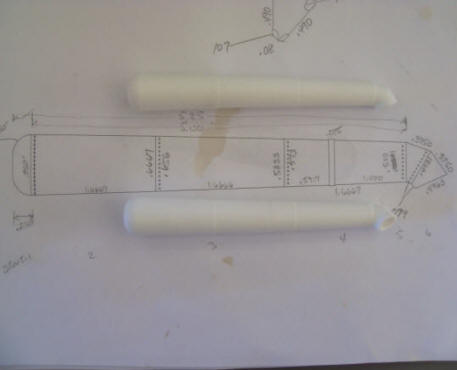
Left is on top of the 2D drawing with lots of dimensions. Right in on top of a 3D rendering.
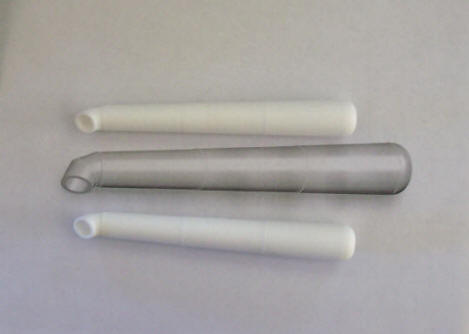
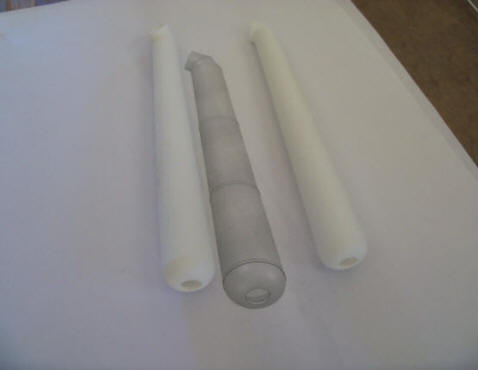
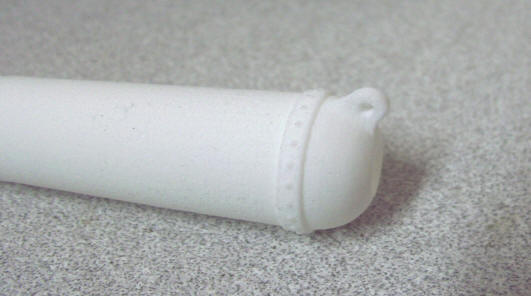
Left is a side view and right is an end view. I made them hollow with .080" wall thickness. I did make .020" rivet detail at each joint although it doesn't show up well in these pictures. Once painted and weathered, they should be visible.
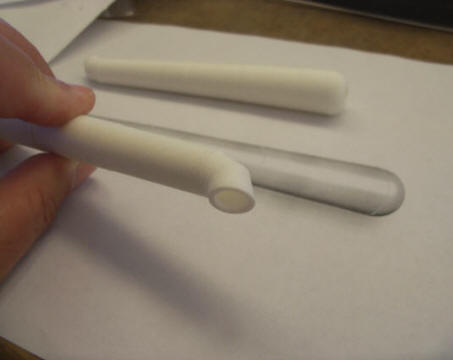
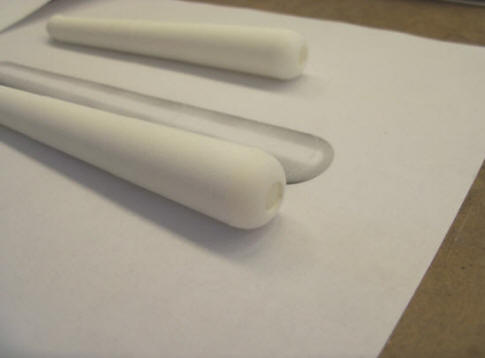
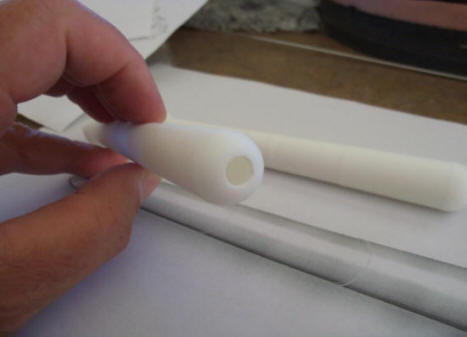
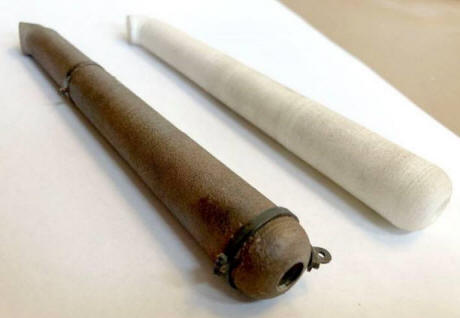
Spout tip on the left and butt end on the right. Total length is 5-1/2" long. Largest diameter is 3/4". If I recall, the price to print these in "Versatile Plastic" (white nylon) was $14 or so plus shipping. Maybe with the next update I'll have them painted and weathered.
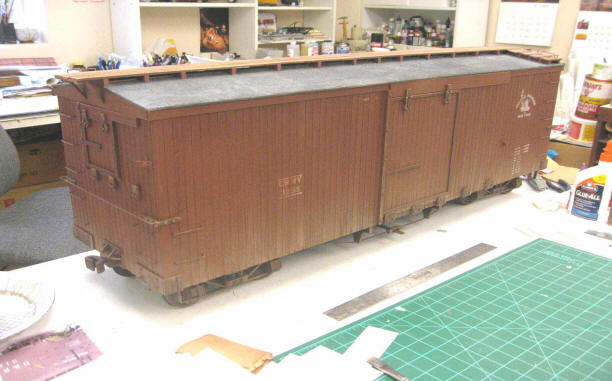
So, next for me is to vulcanize a few molds to determine if I'm going to use the white metal or steel for masters. Once past that milestone, I'll get going on the car sides and ends so we can see what this thing is going to look like. I'm still chewing on the roof ends as to whether I laser strips of styrene and glue together and detail them perfectly smooth for a silicon mold to cast them or if I'll give a try at 3D'ing them and have Shapeways print one up in this Versatile Plastic to use as a master. Phil
October 6th Update
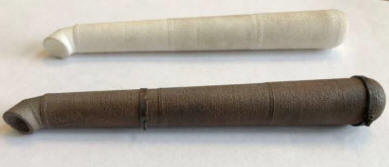
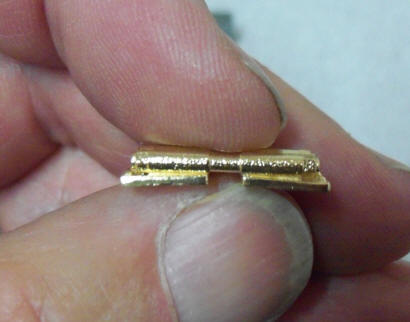
I put some paint and added hardware to one of the spouts. Some pic's of that work.
For 3D printed parts for the water tank, I have uploaded the 3D file for the concrete pier blocks which are being printed. Still need to design the flat band tighteners and the cable tighteners.
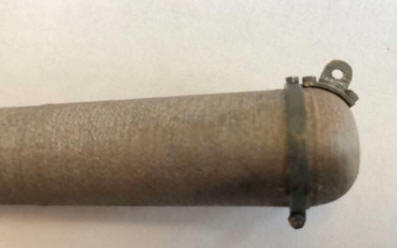
I had the spout redone with the added features. Yeah, I know, again? I'm learning 3D slowly but surely!!!!
Oct 21st update
I have received the pier blocks.
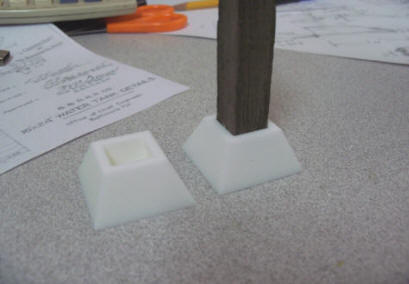
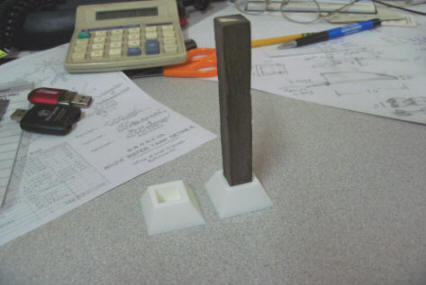
Dimensions are: 1-1/4" square at the bottom, 3/4" square at the top. The hole is 1/2" square and 1/2" deep. The blocks are 5/8" tall. They are printed in versatile plastic which a fancy name for white nylon.
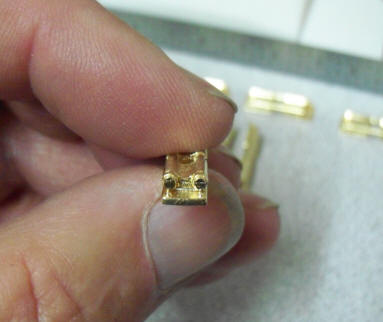
I have in production the band tighteners in two flavors. First is a double bolt band type and the second is a cable type. Here's the 3D rendering.
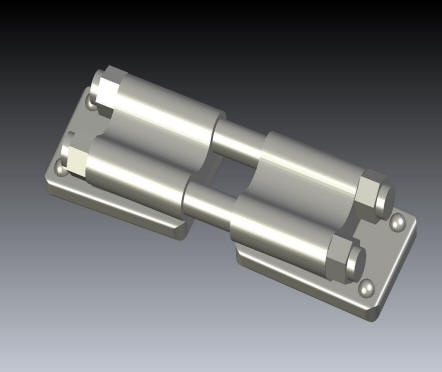
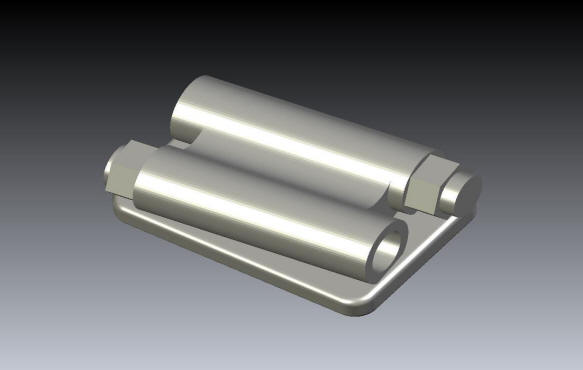
I'm having these done in a lost wax brass. The last thing I have upload for printing at this point are a couple pulleys for the spout chains and counter weights.


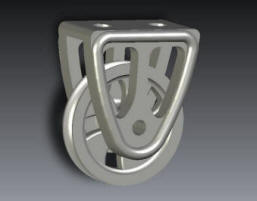
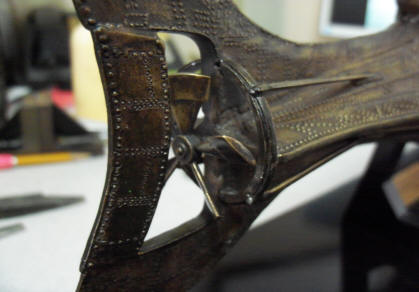
Left is the what I call the fork. Center is the sheave. Right is the 2 parts fit together. A 1/16 brass tube will act as the shaft with 0-80 bolts screwed in both sides.
October 31, 2018
I received the band and cable tighteners. Still waiting on the pulleys.

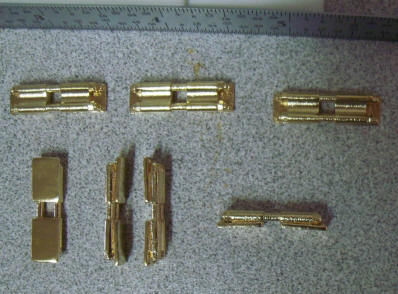
Band tighteners. I need 3 per band and 6 bands. First order was for 9 each. Will use some of my SSI for the next 9 :-)
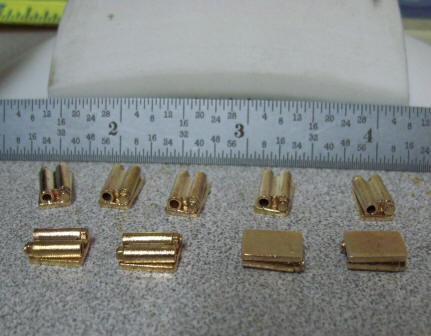

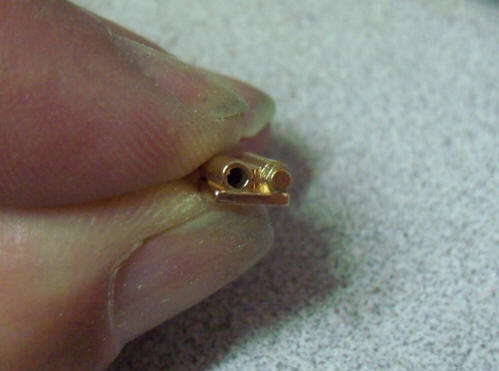
I designed the hole to be 1/16" so that I can use 1/16" brass rod as the cables. Again, 9 in this order, 9 to go. I am open to making a mold of these and casting them in white metal if there was interest. Let me know if these are something that interest you.
Next update will be the pulleys. Phil
November 4th, 2018
Received the pulleys from Shapeways. I blackened on of them with stain glass patina. I feel the patina works far better and faster than any of the commercial "blackeners"
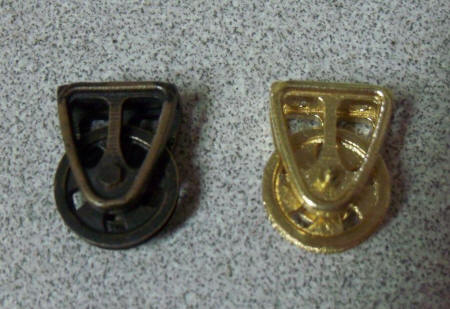

Close up on the left and in the palm of my hand on the right
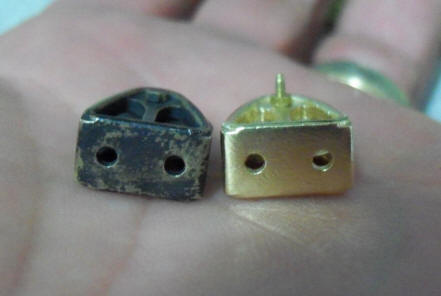
Mounting holes for 2-56 hex bolts. All for now Phil
Update 1-1-2019
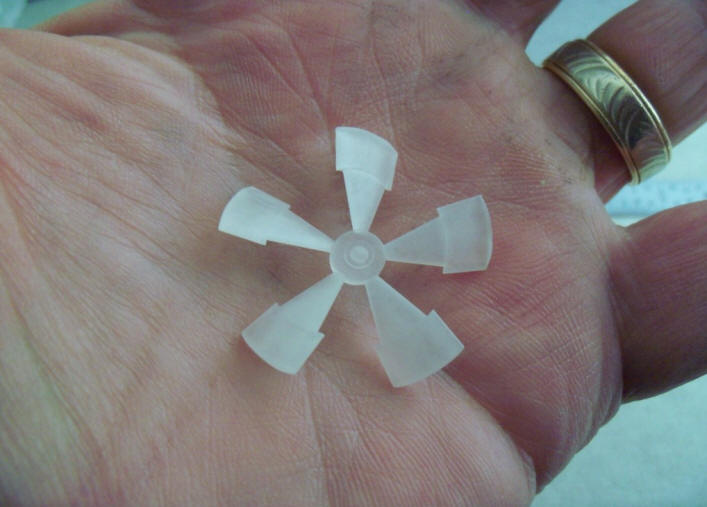
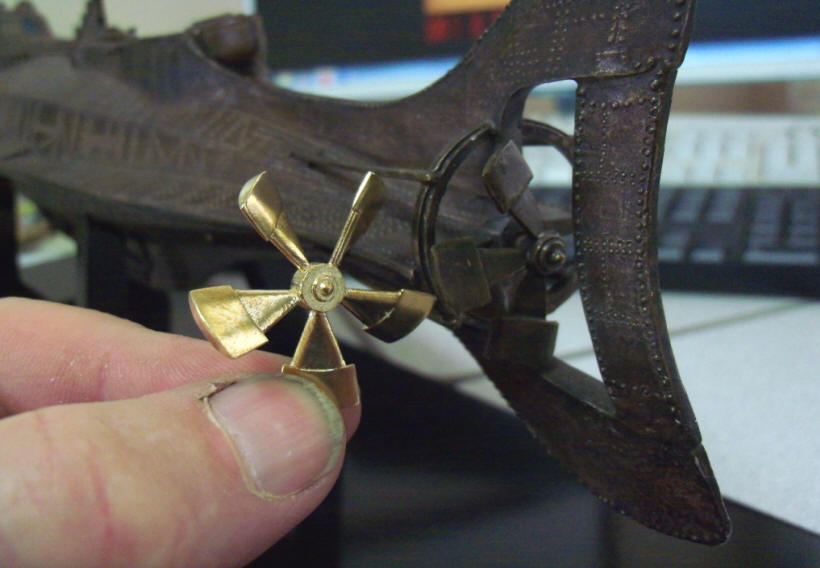
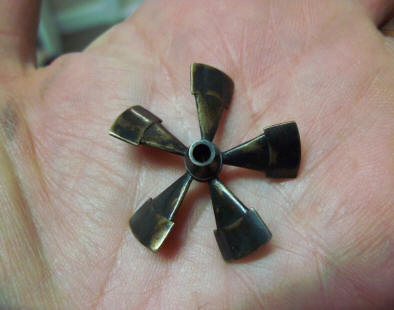
Back in 2004 my wife bought me several 50th anniversary items commemorating the movie 20,000 Leagues Under the Sea. I was 5 when I saw the movie the first time and as a kid, and every other kid on the street, wanted to be Captain Nemo. One of the items was a 1/96 scale model of the Nautilus. When I opened it, I found the propeller was broken. It had been the last one on the shelf and while the store would refund and take back the model, there were no replacements available. So I kept it thinking one day I would machine a new propeller for it. Well .......... no way I could machine that thing but with my newfound 3D skills, I drew up a suitable replacement. The original propeller was 1.3" in diameter. For those familiar with the Nautilus, a very unique looking prop. I sent my drawing to Shapeways and had them print it in brass and their Smoothest Fine Detail Plastic as I wanted to see just how that material might work for other projects. Only $7 for the experiment so added it to the brass order.
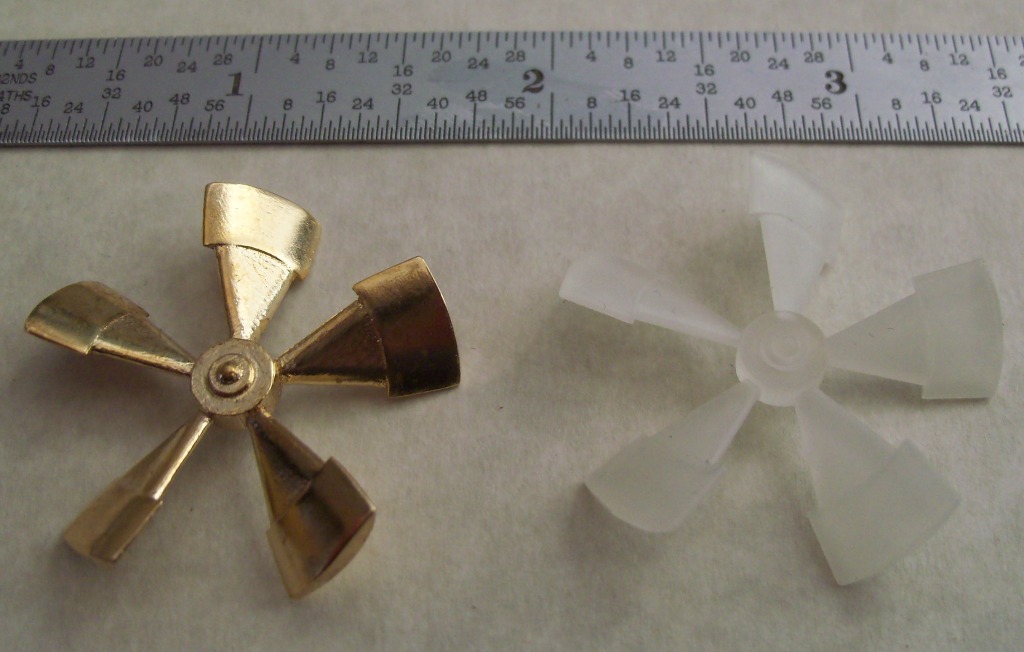
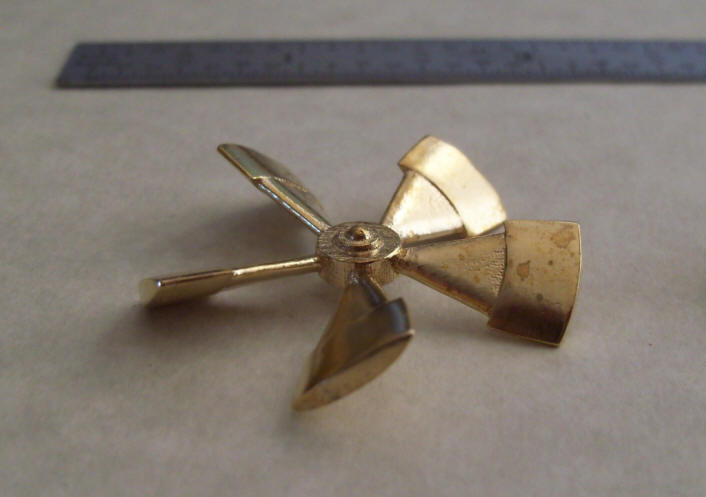
Either I'm getting better with the 3D CAD or this wasn't as difficult as it looks to be.
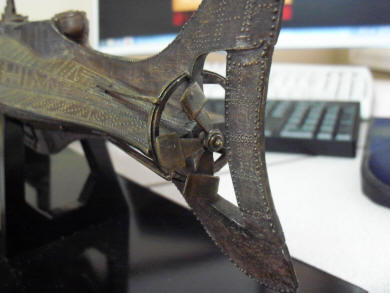
So with prop in hand I opened the box with the sub for the repair.

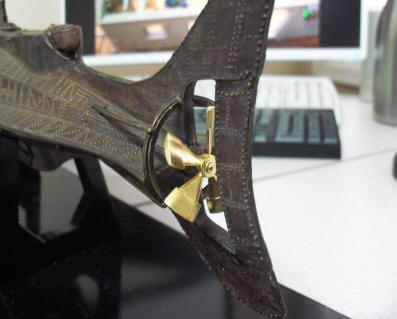
Here's the model. At 1/96 scale it measures 22" long. Not huge but such a cool design.
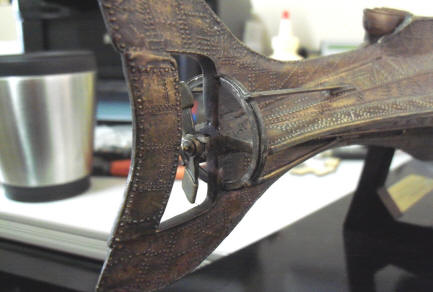
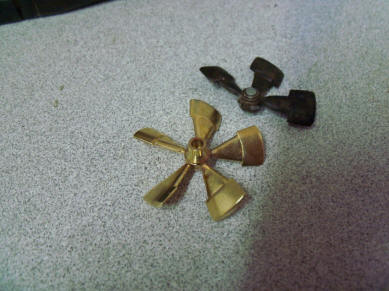
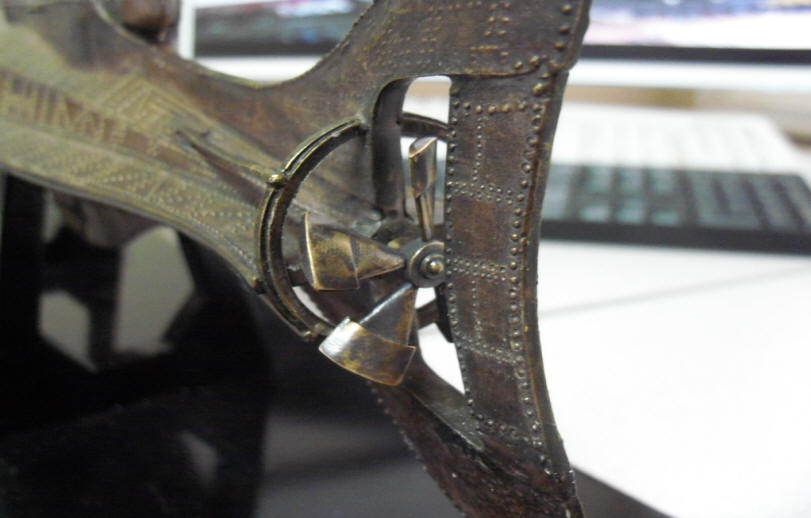
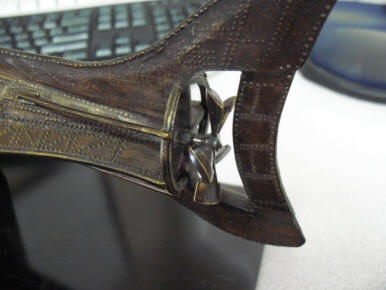
The damaged propeller. You can see, 2 blades are broken off.
The replacement held up for comparison
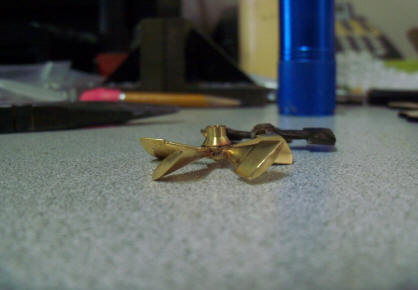
I turned a hub on my lathe and soldered it to the back of the new prop.
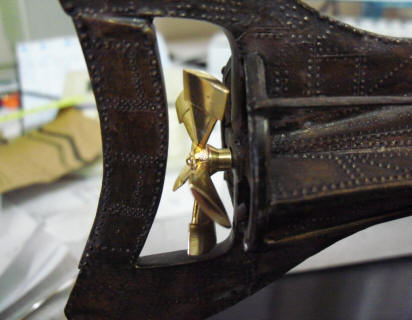
The "test" fit

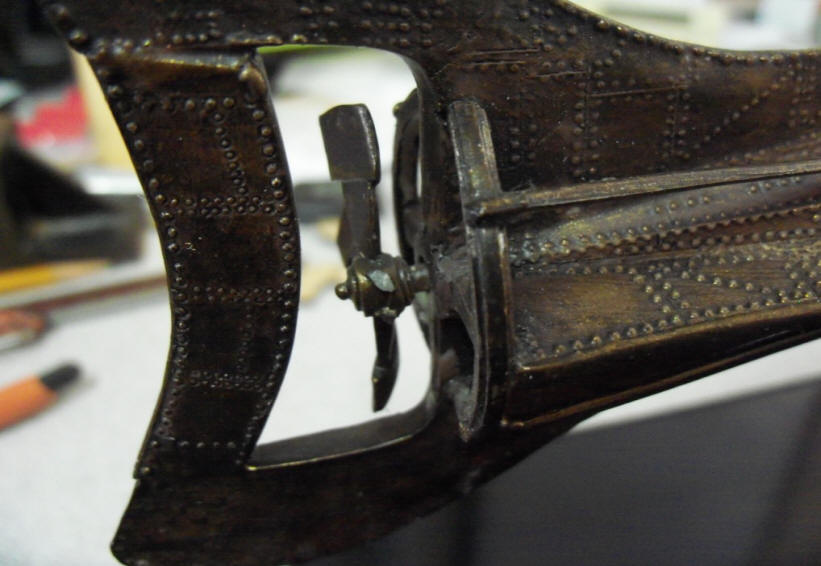
Then I blackened and buffed both sides
Mounted
Port and Starboard views

I'm happy with repair and the colors seem to match just fine. Phil
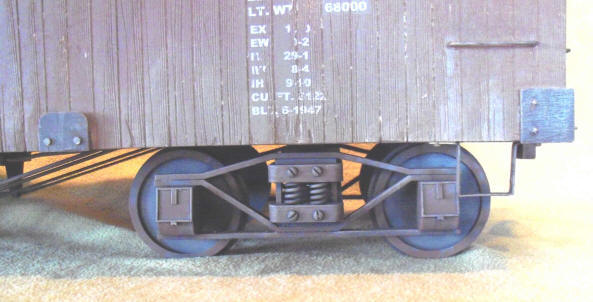
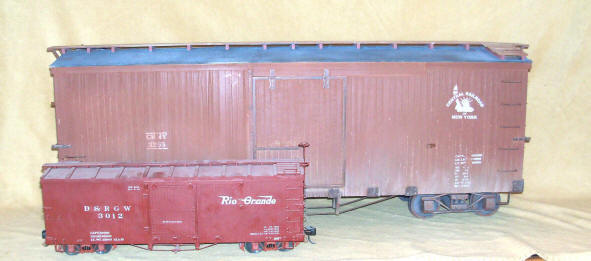
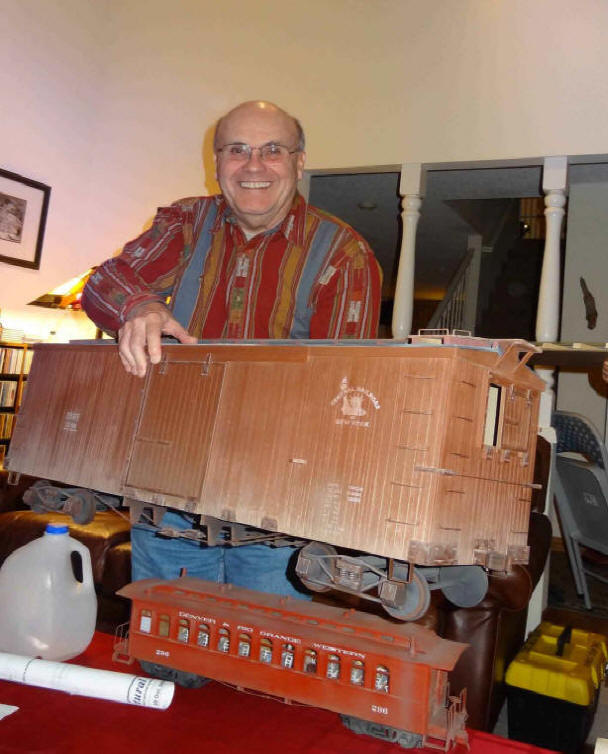
Fall 2011